My First Sprite Sheet and Game Progress

So, I have been gone for a while and I just wanted to put my story out there as to why. I am not one to blog or use social media but in today’s world that will hold you back if you do not learn to adapt.

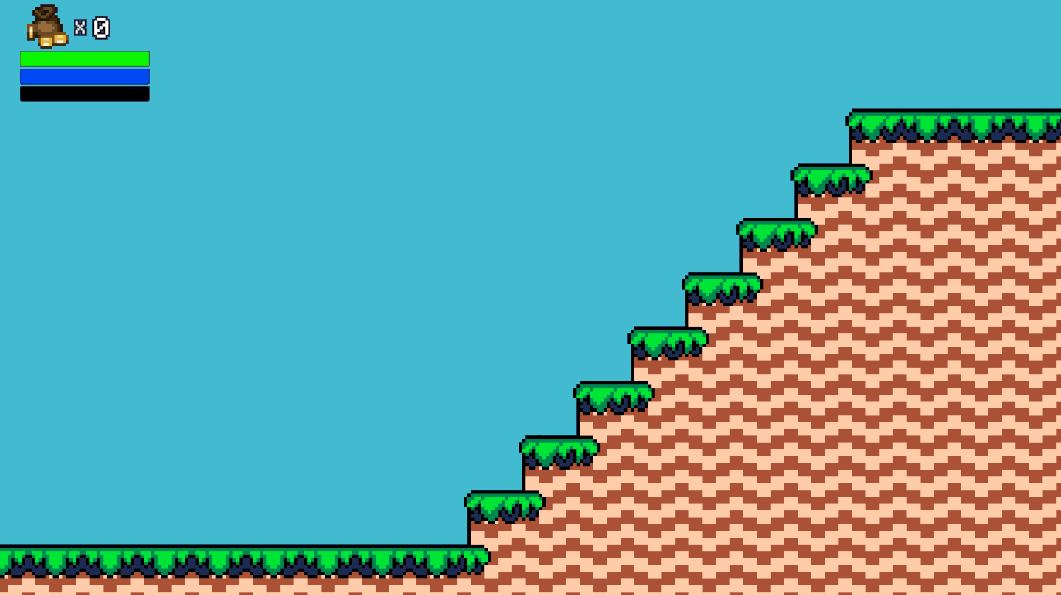
First off I wanted to talk about the new skill I learned. Just last night I created my first sprite sheet!

It is a very simple design but it helped me get through this slump I have been in and I wanted to share it with the internet just in case it could be useful to someone out there.

My First Sprite Sheet!
Here is the sprite sheet being used. 

I would like to thank MortMort on YouTube for creating a great tutorial which I will link in this blog post. 

https://www.youtube.com/watch?v=8o16EmvSyNg

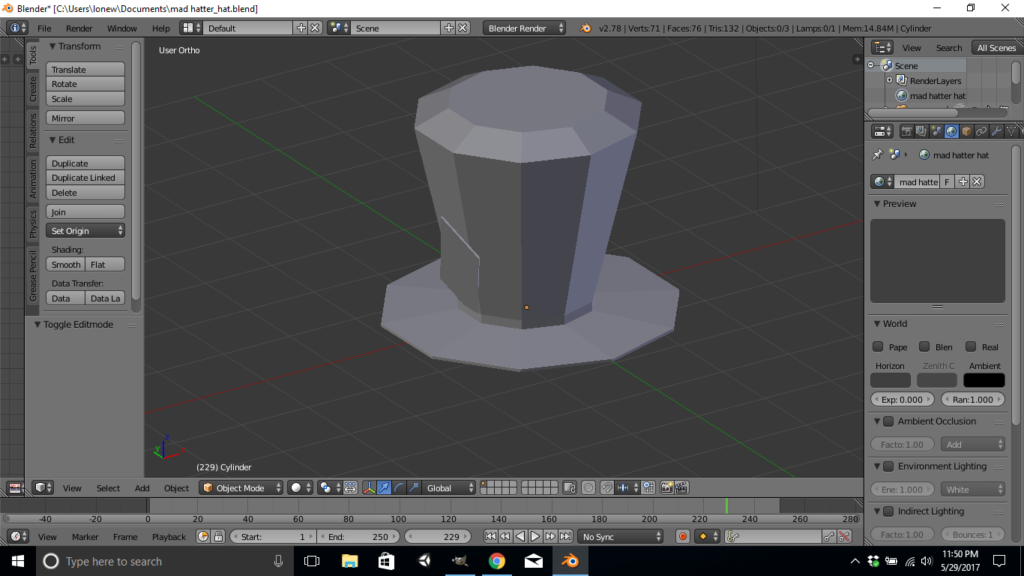
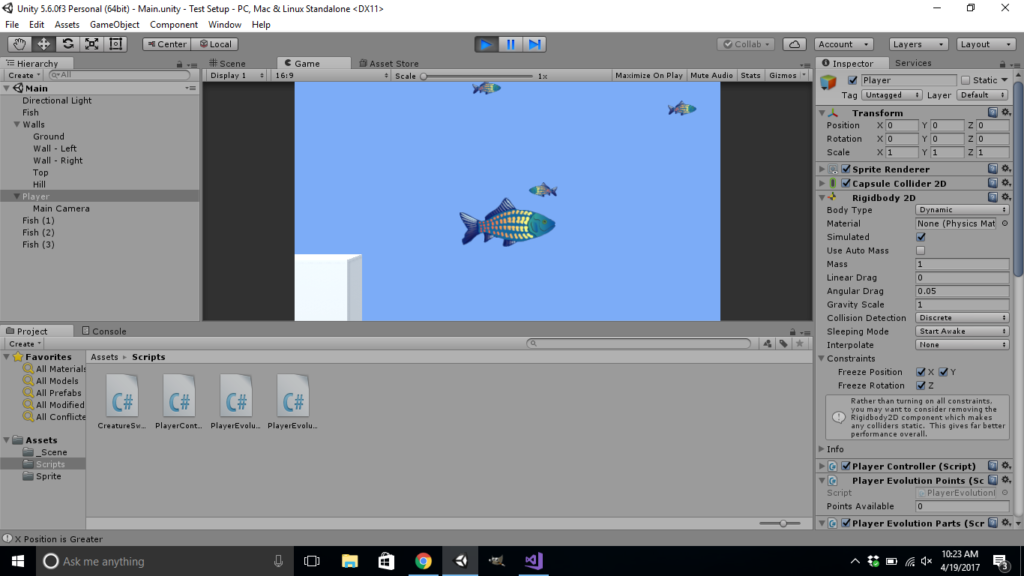
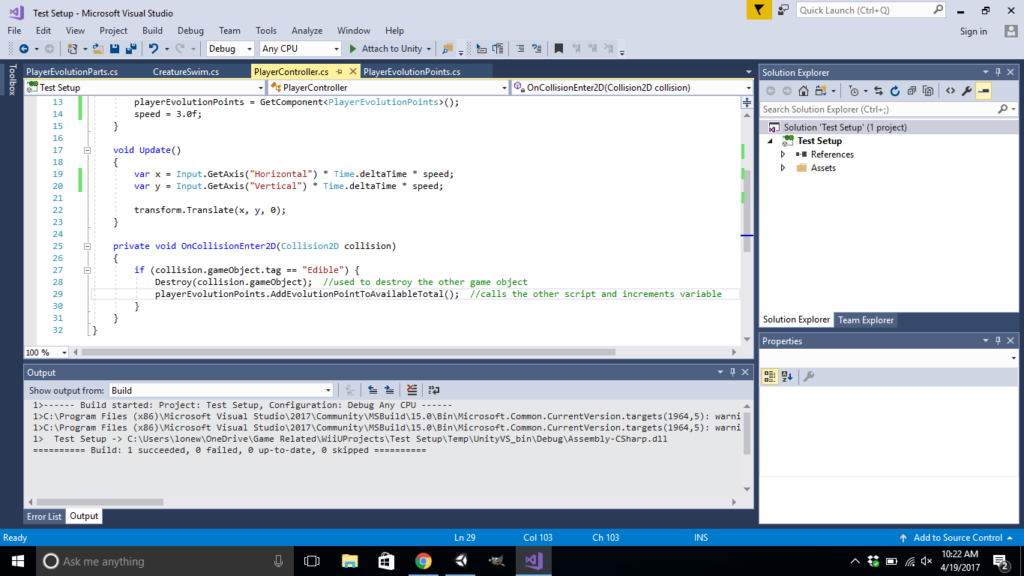
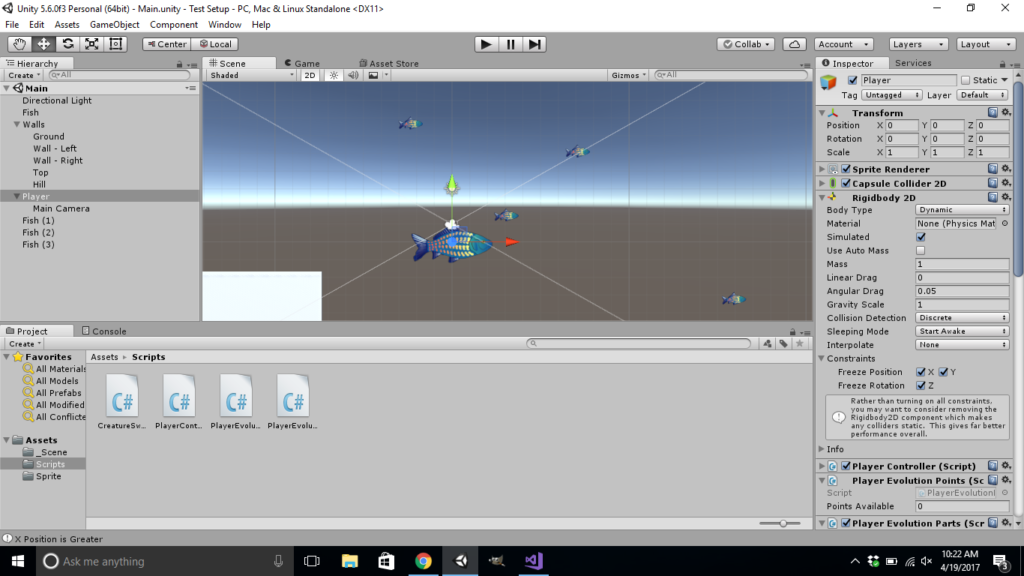
Onto my second topic, my current game development situation. I, unfortunately, bit off more than I could chew. I did the exact thing that everyone from the industry said not to and I tried to create something that was way too big in scope.

After months of overthinking, redesigning, adding, and removing ideas from my project it became too much for me to handle and I quit working on it. 

My wife has been a huge inspiration to me and without her, I would not have been able to get through that weird block type thing that was happening to me. I call it a block but I am not actually sure what was going on. What I would do is think of a mechanic to add to my game, I would work on it for a few weeks but ultimately lack the ability to execute it correctly, scrap the idea, think of a new one, and continue the cycle over and over again. 

Well, the time has come for me to start this thing up again with a smaller scope which will be more in tune to the skills I currently have. I am basically Porky Pig right now in the sense of not being able to say a word because of a stutter so instead, I will say something that is close enough.

Thanks for listening to my rambling. Also, thank you for taking the time to drop by 🙂 There isn’t much here but I am changing that going forward. 

See you around. 

Playing Audio After Destruction

What a wonderful Saturday to post some information, am I right?

Today I am focusing on how to play an audio clip after an enemy is destroyed. It took me a little bit to understand how it works so I thought I would post how I did it just in case this could potentially help someone.

So the scenario is that when the eyeball enemy in my game is getting hit I want it to play an audio clip (hit noise)  and then after the eyeball is destroyed I want it to play another clip (destruction).

The Enemy Object Setup

  1. First created a parent object called Eyeball
  2. Then, I attached an Audio Source Component to it and left the AudioClip blank

3. Next, I created a child object inside of the parent and also named it Eyeball (confusing I know but this was a workaround that I will probably update later, or not…we shall see) and attached an Eyeball Controller script to it.

4. Inside the script, I have a reference to the AudioSource that is on the parent object and I also have a reference to two Audio Cips: Enemy Hit (when the enemy is hit), and Enemy Destroyed (when the enemy is destroyed).

The Eyeball Controller Setup

I have stripped everything out of this code that isn’t audio related to the topic I am talking about right now.

  1. In the script you can see there is a currentHealth variable for the enemy as well as the three other components we talked about earlier (an AudioSource and two AudioClips).
  2. Then, in the Start Method, you assign the enemyAudioSource.
  3. There is a Method called TakeDamage which I give to my PlayerController. This script is used when the collider from the player collides with the enemy and causes damage. For this example lets say 5 damage is given to this Method, so now damageAmount = 5.
  4. When the TakeDamage Method is fired you can see that I assign the enemyAudioSource.clip to equal the enemyHit SoundClip. The enemyAudioSource then begins to play (this will be the enemy being hit sound).
  5. The currentHealth of the enemy is then reduced by the damageAmount.
  6. If  the currentHealth is <= 0, the enemyAudioSource.clip is replaced with the enemyDestroyed AudioClip. The enemyAudioSource then begins to play (this will be the enemy being destroyed sound).
  7. The Method for DestroyEnemy() begins which just destroys the enemy child object.

[sourcecode language=”csharp”]
using System.Collections;
using System.Collections.Generic;
using UnityEngine;

public class EyeballController : MonoBehaviour {

[Header("—–Health—–")]
public int currentHealth;

[Header("—–Sounds—–")]
public AudioSource enemyAudioSource;
public AudioClip enemyHit;
public AudioClip enemyDestroyed;

private void Start()
{
enemyAudioSource = GetComponentInParent&lt;AudioSource&gt;();
}

public void TakeDamage(int damageAmount)
{
enemyAudioSource.clip = enemyHit;
enemyAudioSource.Play();

currentHealth -= damageAmount;

if(currentHealth &lt;= 0)
{
enemyAudioSource.clip = enemyDestroyed;
enemyAudioSource.Play();

DestroyEnemy();
}
}

void DestroyEnemy()
{
Destroy(gameObject);
}
}
[/sourcecode]

Back To The Eyeball Parent

The last thing I did was attach a script called DestroyEnemyContainer to the Eyeball Parent. The script is very simple and will just look to see if there are any children attached to the parent and if there is not it will destroy the parent after 3 seconds.

[sourcecode language=”csharp”]

public class DestroyParentContainer : MonoBehaviour
{
private void Update()
{
//Debug.Log("Number of children: " + transform.childCount);

if (transform.childCount <= 0) // if this object is the last child
{
Destroy(transform.gameObject, 3.0f); // destroy parent a few frames later
}
}
}

[/sourcecode]

Face and Move Toward Player.

Good Morning All,

I am not a programming expert by any stretch of the imagination, but if there is one thing I know it’s that getting the code to work is the first step and optimizing is the second step.

With that being said I have decided to share all the code I am using for my current project and hope it can help someone or someone can help me make it better. Regardless, the game I am working on is a Platformer/RPG so there will be a lot of systems happening.

The first code piece I would like to share is the MoveTowardPlayer script that determines if the player is on the Left or Right of whatever GameObject this script is attached to and will move the host toward the player. If the player crosses its path, the enemy will flip its X-Axis to face the player.


http://https://www.youtube.com/watch?v=Xnjr70xMORQ&feature=youtu.be

Below is the script I use to accomplish this effect. 

[sourcecode language=”csharp”]
using System.Collections;
using System.Collections.Generic;
using UnityEngine;

public class MoveTowardPlayer : MonoBehaviour {

public Transform target;
public float speed;

private void Start()
{

//This finds the GameObject that has the PlayerController script attached.
//This is assuming there is only one PlayerController.
target = FindObjectOfType<PlayerController>().transform;
}

void Update()
{
float step = speed * Time.deltaTime;
transform.position = Vector3.MoveTowards(transform.position, target.position, step);

#region \/—–Face Right—–\/
if(transform.position.x < target.position.x)
{
GetComponent<SpriteRenderer>().flipX = true;
}
#endregion
#region \/—–Face Left—–\/
else if(transform.position.x > target.position.x)
{
GetComponent<SpriteRenderer>().flipX = false;
}
#endregion
}
}
[/sourcecode]

***As of 04/13/18, this is the current script I am using. If I update it I will update this post.***


Castlevania Style – Following Shadow

Hello All,

I just wanted to share a code snippet I found while searching the internet for some assistance.

In my game, I was thinking of having some trailing shadows like in Castlevania when a special magic spell is activated. Well, I was having a doozy of a time trying to get it to work so I did a search and found that my issue was already solved and the answer was shared with the public. I thought it would be nice to see the solution and give credit where credit is due.

The effect I was trying to achieve was the trailing shadows shown here 

The solution was given by a user named jeffreyschoch in the Unity forums.

[sourcecode language=”csharp”]
using UnityEngine;
using System.Collections;
using System.Collections.Generic;

public class SpriteAfterImage : MonoBehaviour {
[Tooltip("The color each after-image will fade to over its lifetime. Alpha of 0 is recommended")]
public Color finalColor = Color.clear;
[Tooltip("The amount of time an after-image will take to fade away.")]
public float trailLifetime = .25f;
[Tooltip("The distance this object must move to spawn one after-image.")]
public float distancePerSpawn = .1f;
[Tooltip("Optimization – number of after-images to create before the effect starts, to reduce the start-up load.")]
public int spawnOnStart = 0;
private SpriteRenderer mainSpriteRenderer; // the sprite renderer to trail after
private List<SpriteRenderer> readyObjects; // the list of objects ready to be shown
private float distanceTraveledSinceLastSpawn; // the distance this object has moved since the last object was shown
private Vector3 lastSpawnPosition; // the position the last object was spawned
private Color initialColor;
private void Awake() {
// get the sprite renderer on this object
mainSpriteRenderer = GetComponent<SpriteRenderer>();
initialColor = mainSpriteRenderer.color;
// initialize the empty list
readyObjects = new List<SpriteRenderer>();
// optionally populate list beforehand with objects to use
for(int i = 0; i < spawnOnStart; i++) {
readyObjects.Add(makeSpriteObject());
}
}
private void OnEnable() {
StartCoroutine(trailCoroutine());
}
// function to create a sprite gameobject ready for use
private SpriteRenderer makeSpriteObject() {
// create a gameobject named "TrailSprite" with a SpriteRenderer component
GameObject spriteObject = new GameObject("TrailSprite", typeof(SpriteRenderer));
// parent the object to this object so that it follows it
spriteObject.transform.SetParent(transform);
// center it on this object
spriteObject.transform.localPosition = Vector3.zero;
// hide it
spriteObject.SetActive(false);
return spriteObject.GetComponent<SpriteRenderer>();
}
private IEnumerator trailCoroutine() {
// keep running while this component is enabled
while(enabled) {
// get the distance between the current position and the last position
// a trail object was spawned
distanceTraveledSinceLastSpawn = Vector2.Distance(lastSpawnPosition, transform.position);
// if that distance is greater than the specified distance per spawn
if(distanceTraveledSinceLastSpawn > distancePerSpawn) {
// if there aren’t any objects ready to show, spawn a new one
if(readyObjects.Count == 0) {
// add that object’s sprite renderer to the trail list
readyObjects.Add(makeSpriteObject());
}
// get the next object in the ready list
SpriteRenderer nextObject = readyObjects[0];
// set this trailSprite to reflect the current player sprite
nextObject.sprite = mainSpriteRenderer.sprite;
// this makes it so that the trail will render behind the main sprite
nextObject.sortingLayerID = mainSpriteRenderer.sortingLayerID;
nextObject.sortingOrder = mainSpriteRenderer.sortingOrder – 1;
// set it loose in the world
nextObject.transform.SetParent(null, true);
// match the copy’s scale to the sprite’s world-space scale
nextObject.transform.localScale = mainSpriteRenderer.transform.lossyScale;
// show it
nextObject.gameObject.SetActive(true);
// start it fading out over time
StartCoroutine(fadeOut(nextObject));
// remove it from the list of ready objects
readyObjects.Remove(nextObject);
// save this position as the last spawned position
lastSpawnPosition = transform.position;
// reset the distance traveled
distanceTraveledSinceLastSpawn = 0;
}
// wait until next frame to continue the loop
yield return null;
}
// reduce number of sprites back to original pool size
foreach(SpriteRenderer sprite in this.readyObjects) {
if(this.readyObjects.Count > spawnOnStart) {
Destroy(sprite.gameObject);
} else {
resetObject(sprite);
}
}
}
private IEnumerator fadeOut(SpriteRenderer sprite) {
float timeElapsed = 0;
// while the elapsed time is less than the specified trailLifetime
while(timeElapsed < trailLifetime) {
// get a number between 0 and 1 that represents how much time has passed
// 0 = no time has passed, 1 = trailLifetime seconds has passed
float progress = Mathf.Clamp01(timeElapsed / trailLifetime);
// linearly interpolates between the initial color and the final color
// based on the value of progress (0 to 1)
sprite.color = Color.Lerp(initialColor, finalColor, progress);
// track the time passed
timeElapsed += Time.deltaTime;
// wait until next frame to continue the loop
yield return null;
}
// reset the object so that it can be reused
resetObject(sprite);
}
// resets the object so that it is ready to use again
private void resetObject(SpriteRenderer sprite) {
// hide the sprite
sprite.gameObject.SetActive(false);
// reset the tint to default
sprite.color = initialColor;
// parent it to this object
sprite.transform.SetParent(transform);
// center it on this object
sprite.transform.localPosition = Vector3.zero;
// add it to the ready list
readyObjects.Add(sprite);
}
}
[/sourcecode]

You can find the original article located here: https://forum.unity.com/threads/shadow-clones-castlevania-style-2d.482427/


Variable Jump Height

I have been working on my latest game, and I ran into an issue with jumping. The issue is that when the player presses the jump button, in my case the A button on the controller, I wanted the character to jump. By releasing the jump button instead of holding it down I wanted the character to jump short of the max height that they could reach.

Well, I found a solution that I was able to incorporate into my project and I wanted to share the solution with you in case you were also running into this issue.

Below is a post I found on the unity3D subreddit from the user dookie-boy where he talks about how he accomplished this feat.

Unnamed Platformer – Update #3

The platform game I am working on is making some progress, though slow. I kind of updated the graphics a little to get a better idea of what I want the visuals to look like.

I added a monster, though he just sits there, who can hurt the player. I would like to eventually have him spawn off the screen and when the player gets into a trigger zone the enemy would start to chase him. I am having an issue figuring out how to switch scenes for the interior house sections. Instead, I did a really messy transition so eventually I will work on that, but for now, I wanted to get the bad guy created.

Let me know what you think in the comments below. If you have a suggestion on how to fix the transitions for the exterior to the interior of the houses, please let me know.


Evolveolution – The Beginning

My new project has a working title of Evolveolution. The player will start off in the microbial stage and will eat other microbes until you have gained enough points to evolve. From that stage will be the ocean stage where the player must fight off aquatic creatures while continuing to evolve their body until they are big enough to leave the water….

I am in the early stages of development but I thought I would start uploading some photos of my process.